Table of Contents
Key Takeaways
- Professional installation is easier, but comes at a much higher cost
- DIY permanent lighting can save thousands if you’re willing to install it yourself
- There are a few different types of DIY setups, and they vary more than most people expect
- The final appearance is often very similar when done properly
- Most homeowners are choosing between convenience and cost
Thinking About Permanent Lighting?
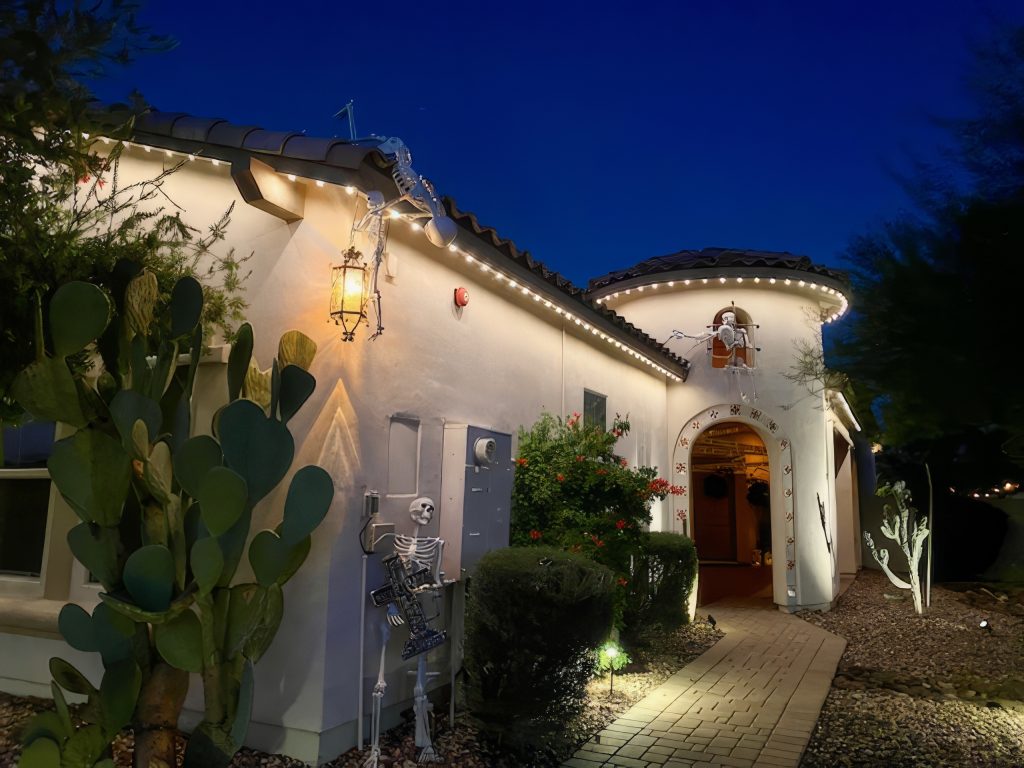
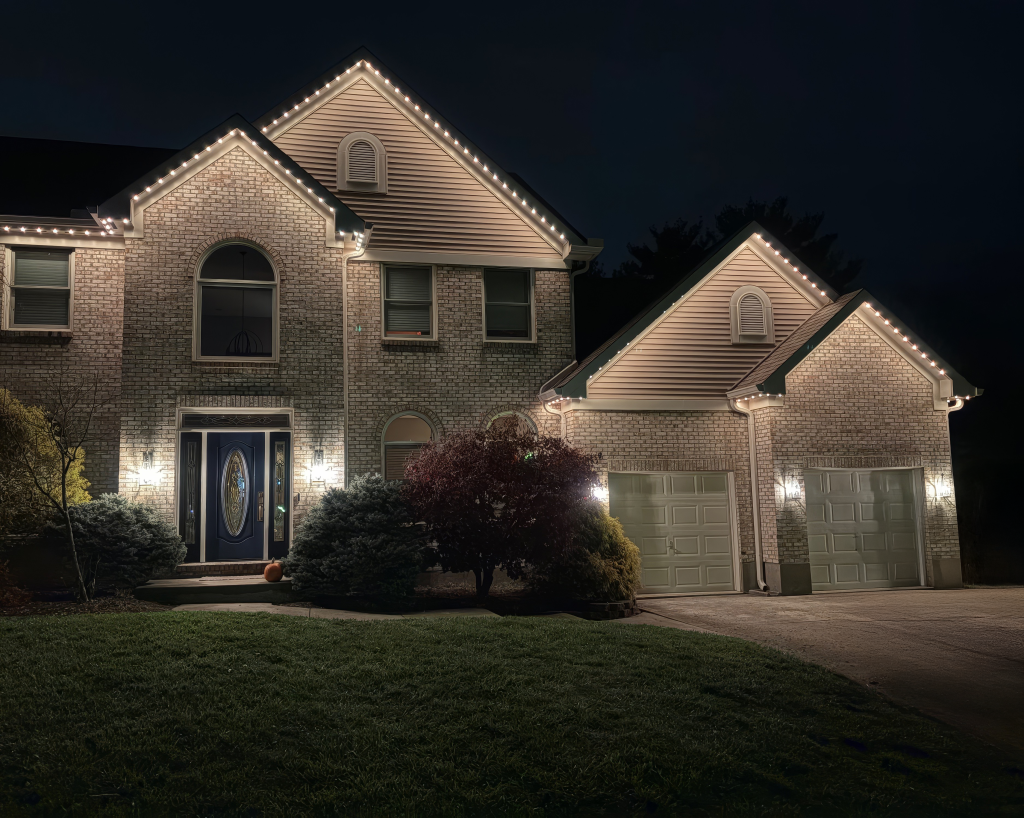
Permanent lighting has become a popular upgrade for homeowners looking to add both function and style to their home. Whether it’s for holidays, accent lighting, or everyday use, having a system installed along your roofline can completely change how your home looks at night.
It’s not just about appearance either. Outdoor lighting that uses LEDs saves quite a bit in energy and reduced maintenance, as seen in this LED lighting guide.
The challenge is figuring out the best way to get there.
Most people quickly realize there isn’t just one option. You can go with a fully installed system, choose a simple plug-and-play setup, or take a more hands-on DIY approach. Each one comes with different costs, effort, and results.
That’s where this guide comes in. We’ll break down DIY vs professional permanent lighting so you can get a clearer idea of what makes the most sense for your home.
If you want to see how specific systems compare, you can also look at comparisons like ShawTech vs Jellyfish Lighting or ShawTech vs Trimlight.
DIY vs Professional Permanent Lighting: What’s the Difference?
If you’ve been comparing DIY vs professional permanent lighting, you’ve probably noticed there are a few different ways to approach it.—and it’s not always obvious which one makes the most sense.
You can hire a company to install everything for you, go with a plug-and-play kit, or take on a more involved DIY setup. On the surface, they all promise the same end result, but the experience and cost can be very different.
Most homeowners end up comparing DIY vs professional installation first, since that’s where the biggest tradeoffs show up. From there, the details start to matter more.
The rest of this guide breaks that down so you can get a clearer idea of what each option actually looks like in practice.
Quick Comparison: DIY vs Professional Installation (Typical Ranges)
DIY lighting can vary quite a bit depending on the approach. Simpler plug-and-play kits, complete systems, and fully custom builds all fall into different price and effort ranges.
| Feature | DIY Permanent Lighting | Professional Installation |
|---|---|---|
| Cost | ~$1,000–$3,000 | ~$5,000–$10,000+ |
| Installation | You install it | Installed for you |
| Time | Weekend or two | No time required |
| Effort | Moderate | None |
| End Result | Clean, consistent look (Usually) | Clean, consistent look |
What Does Professional Permanent Lighting Include?

Professional lighting companies handle everything from start to finish.
They measure your home, install the system, and get everything set up so you can control it through an app. Once it’s done, there’s nothing else you need to think about.
This is the route offered by companies like Jellyfish, Trimlight, Gemstone, and Oelo.
The main benefit is that it’s hands-off. You’re paying for convenience.
What Does DIY Permanent Lighting Look Like?
DIY lighting means you’re handling the installation yourself.
That usually involves mounting channels along the roofline, running wiring, and setting everything up. It takes time, but most homeowners can handle it with a bit of planning.
The biggest change in recent years is that you don’t have to build everything from scratch anymore. There are different ways to approach DIY, and some are much easier than others.
Types of DIY Permanent Lighting
Not all DIY setups are the same. The experience can vary quite a bit depending on which route you take.
Complete DIY Kits

This is the most straightforward option.
You get everything in one package, including lights, channels, wiring, and instructions. It removes most of the guesswork and is usually the best fit for homeowners who want to install it themselves without spending weeks researching components.
Most complete kits fall somewhere around $9–$15 per foot, depending on the system and components included.
The lights are typically mounted in an aluminum channel, which helps keep spacing consistent and gives a cleaner look along the roofline. It also makes them less noticeable during the day.
Most installs still take some time, but the process is much more predictable since everything is designed to work together.
Plug-and-Play Kits (Amazon Options)
These are usually the easiest to get started with.
They tend to be cheaper upfront, typically around $3–$5 per foot, which is part of the appeal.
The tradeoff is in how they look once installed. A lot of these setups don’t use a proper channel system, which can make them more noticeable during the day.
They often rely on adhesive backing or simple clips to hold the lights in place. That can work short-term, but it doesn’t always hold up well over time, especially in heat or colder weather.
Spacing between lights is also typically wider, which can make the lighting feel less uniform.

Full DIY (Sourcing Everything Yourself)

This is the most hands-on approach.
You’re choosing every component yourself, from lights to wiring to mounting methods. It gives you full control, but it also takes a lot more time and planning.
Costs usually fall somewhere around $4–$7 per foot, depending on the components you choose and how you build the system.
You’ll need to figure out how everything connects, how to mount the lights cleanly, and how to get consistent spacing across the roofline. For most homeowners, this ends up being more involved than expected.
It can work well if you already have experience with similar projects, but it’s not usually the starting point most people are looking for.
Many people going this route end up learning from online communities and forums. Places like r/WLED on Reddit are often where people start when trying to piece together a system from scratch.
Cost Comparison: DIY vs Professional Permanent Lighting
This is usually where the decision starts to become clearer.
Regardless of which DIY approach you choose, the biggest difference shows up when you compare it to professional installation. That’s where the gap really opens up.
Professional installs typically land somewhere between $5,000 and $10,000 depending on the home. That includes labor, scheduling, and everything involved in getting the system installed.
DIY costs vary depending on the route you take, but they’re almost always significantly lower overall. For most homeowners, the total ends up being a fraction of what a full install would cost.
We’ve had people come to us after getting quotes in the $6,000–$8,000 range and trying to decide if it made sense. For a lot of them, that’s the point where DIY starts to feel like a reasonable option.
What Actually Affects How DIY Lighting Looks
The type of system you choose does make a difference, especially when it comes to how clean the final result looks.
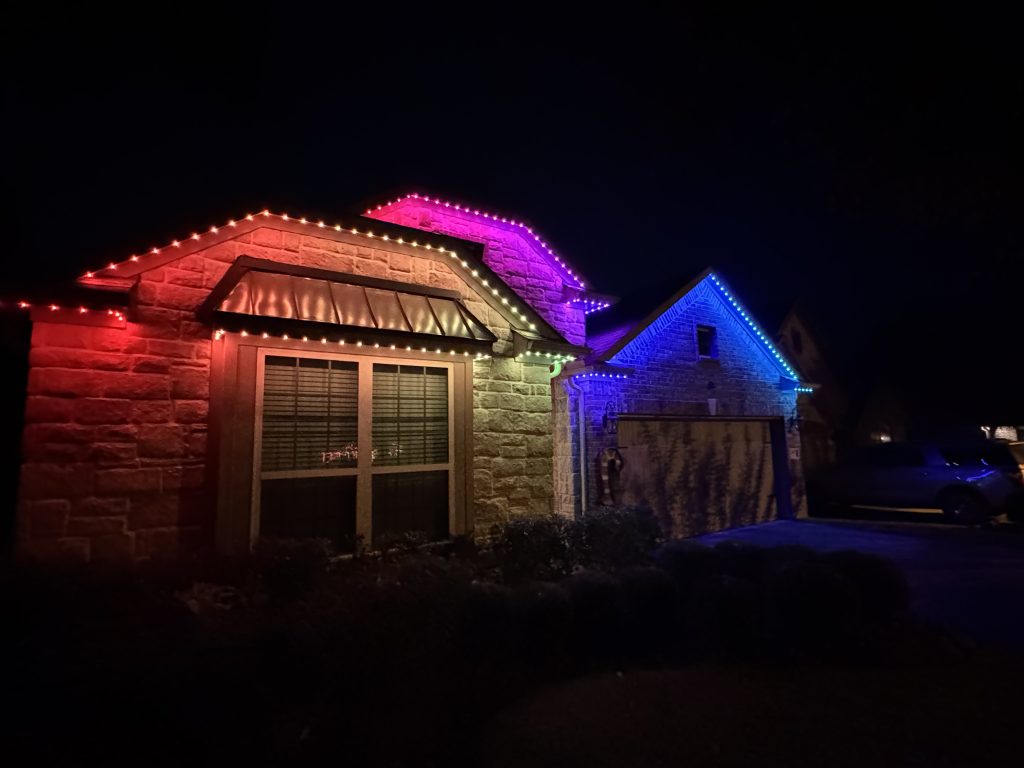
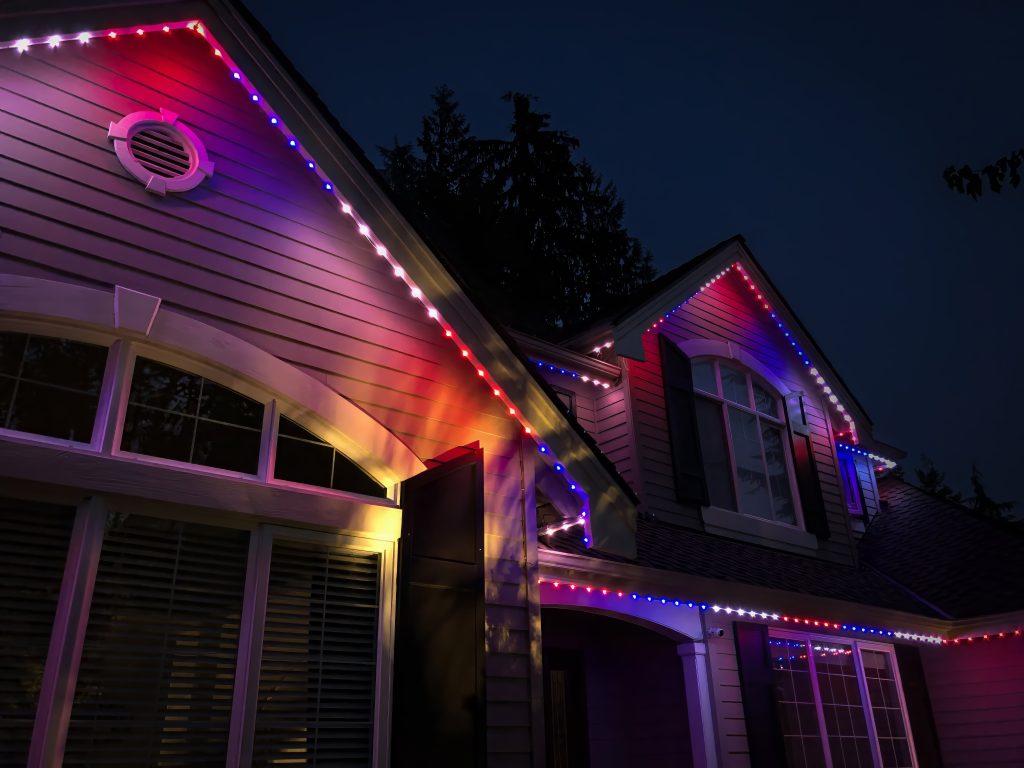
Some plug-and-play kits can end up looking a bit messy once installed. Without a proper mounting system, the lights can hang unevenly or be more visible during the day. Many of these setups also create a more pronounced “cone” or scalloped lighting effect on the house, where each light casts a visible circle. Some people like that look, but others prefer a more subtle, even glow along the roofline.
A lot also depends on the distance to the wall the direction the lights are mounted. Most systems will have the lights facing downwards, creating a wall-wash effect. Others have the option to have them facing outwards so that they look a bit more like traditional Christmas lights without shining as much light onto the walls.

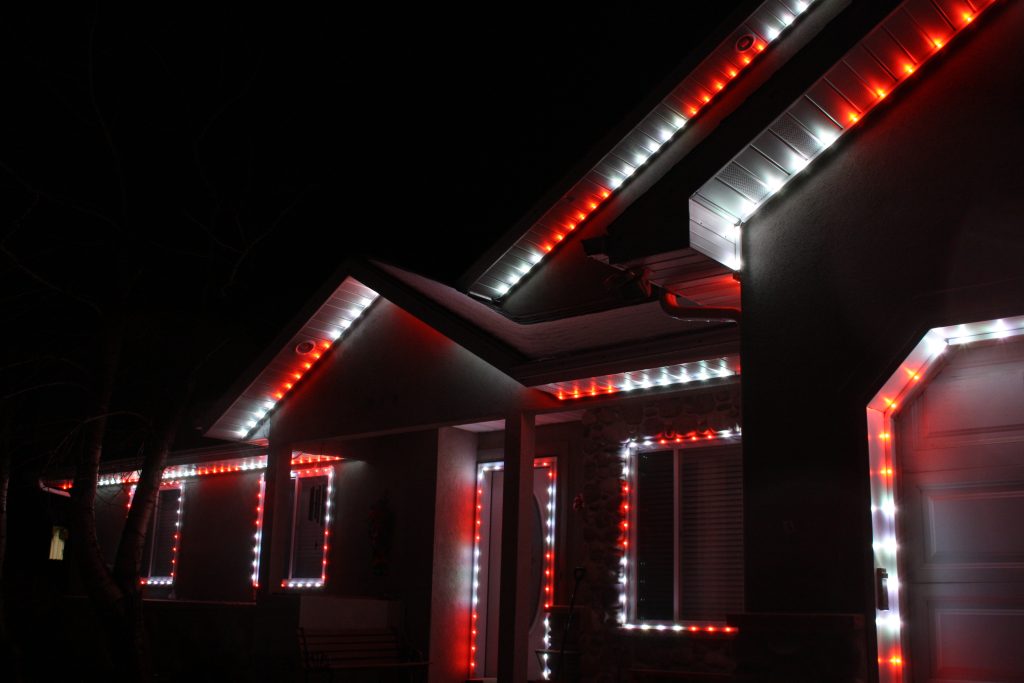
A big part of that comes down to how the lights are mounted. Using a channel system helps keep spacing consistent and allows the lights to sit in a more controlled position. Options like an aluminum track for permanent lights can make a big difference in how clean the final install looks.
Alignment also plays a role. Following the roofline evenly and keeping everything straight makes a bigger difference than most people expect.
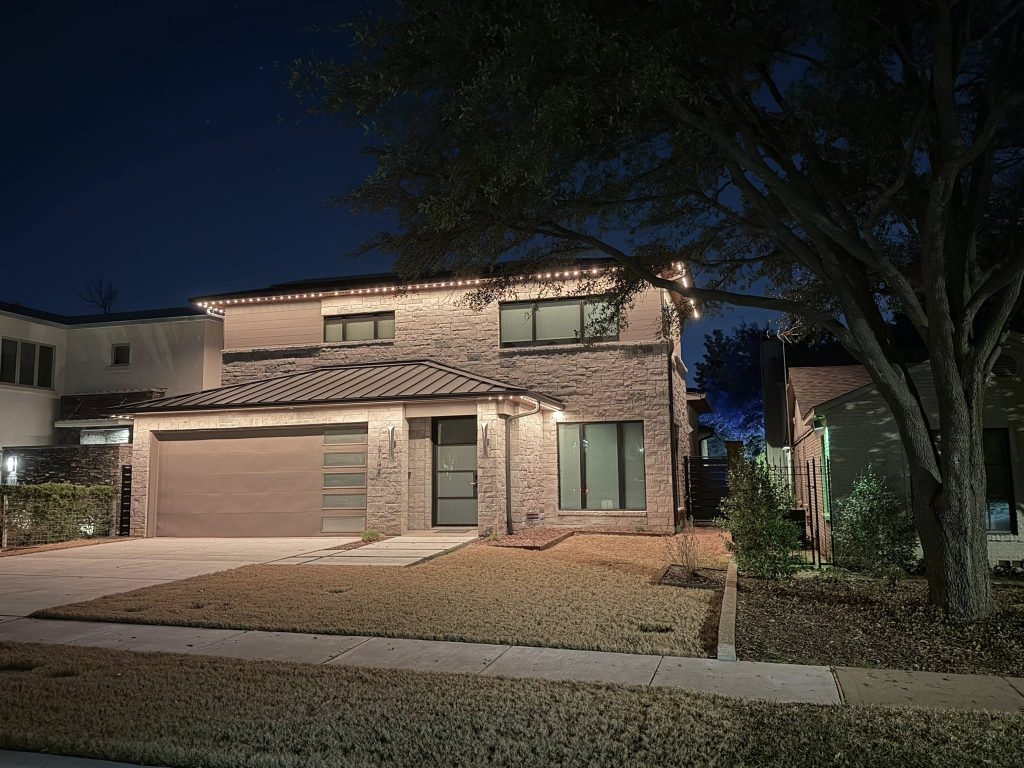
When those details are handled well, the final result looks much more polished.
Installation: What Are You Actually Taking On?
DIY installation isn’t complicated, but it does take time.
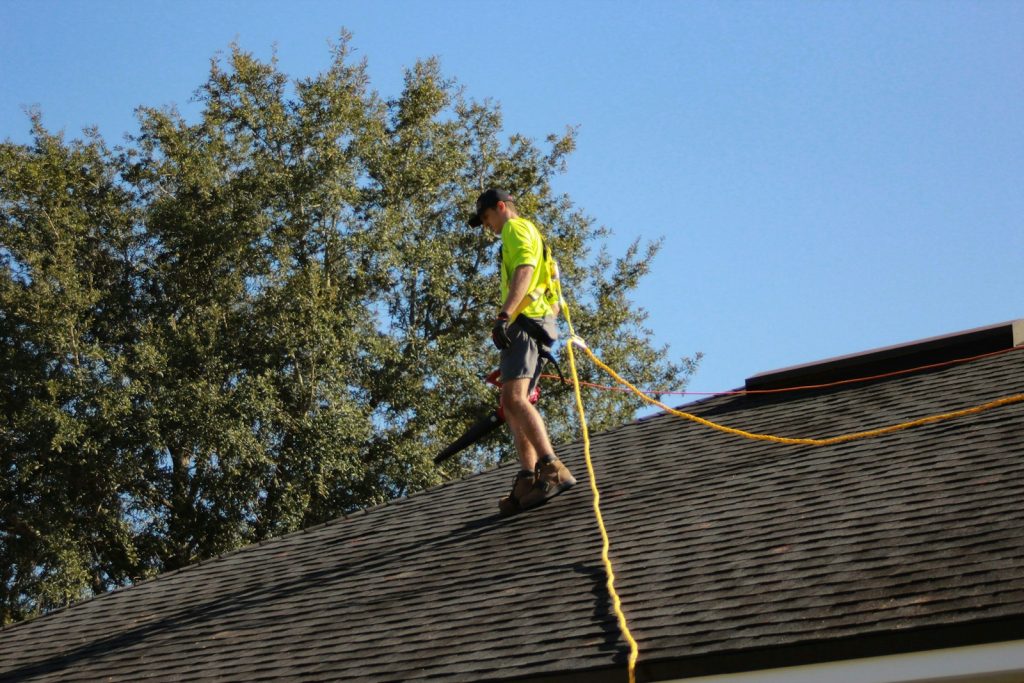
You’ll be working on a ladder, mounting channels, and running wiring along the roofline. Most people spread it out over a weekend or two.
The level of effort depends a bit on the type of system you choose. Simpler kits are quicker to install, while fully custom setups require more planning.
The key difference now is that you’re not figuring everything out from scratch. With the right system, the process is already laid out, and there’s support if you need it.
When Professional Installation Makes Sense
Professional installation is a better fit if:
- You don’t want to deal with installation at all
- You’re not comfortable working on a ladder
- Budget isn’t a major concern
- You want a fully hands-off experience
When DIY Makes More Sense
DIY tends to be the better option if:
- You want to save a significant amount of money
- You’re comfortable with basic home projects
- You don’t want to spend time researching parts and systems
- You’re okay putting in some time upfront
How ShawTech Fits In
Most homeowners don’t fall at either extreme.
They’re not looking for the cheapest plug-and-play option, but they also don’t want to spend thousands on a full professional installation. And for most people, building a system completely from scratch isn’t very appealing either.
That’s where ShawTech fits in.
It’s designed as a middle ground. You get professional-grade materials, including aluminum channels for clean mounting, high-quality LEDs, and a system that’s meant to look good once it’s installed. At the same time, you’re not left trying to figure everything out on your own.
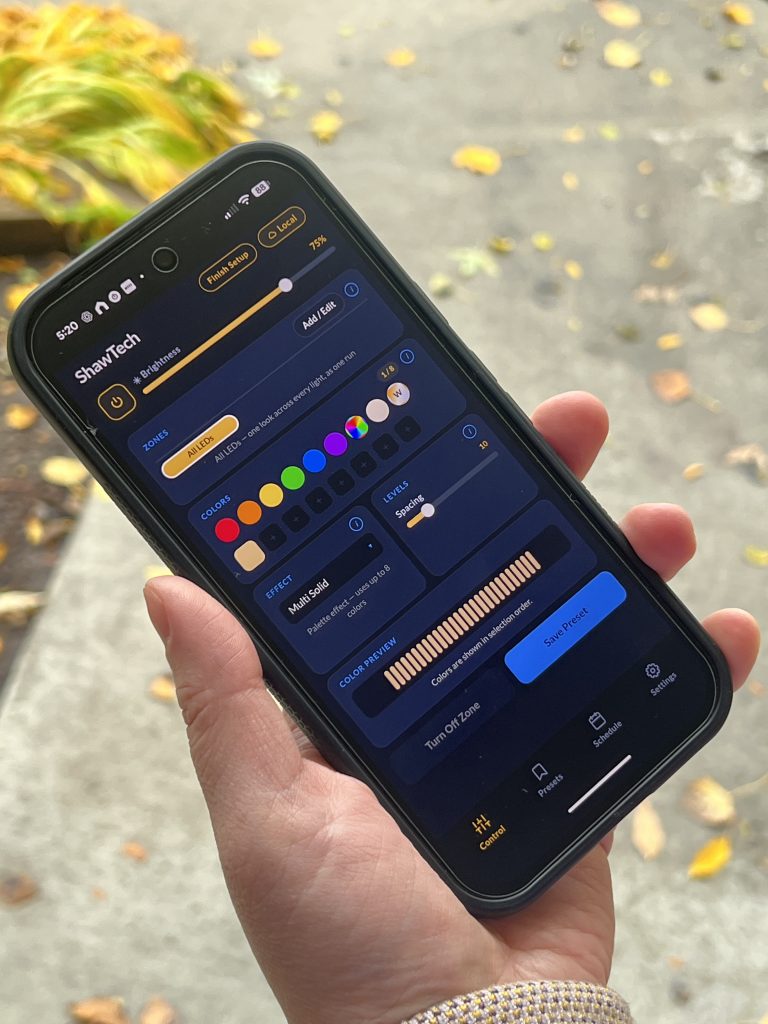
Everything comes together in a complete kit. You get the components, the layout is already thought through, and there are detailed instructions to guide you through the process. If you run into something along the way, there’s support available to help you get through it.
You’re still doing the installation yourself, but you’re not starting from scratch and you’re not paying for labor. For a lot of homeowners, that ends up being the best balance between cost, effort, and final result.
Explore our DIY permanent Christmas lights kits
Comparing Popular Options
If you’re still deciding, these comparisons break things down further:
- ShawTech vs Jellyfish Lighting
- ShawTech vs Trimlight
- ShawTech vs Gemstone Lighting
- ShawTech vs Oelo Lighting
- ShawTech vs Govee Permanent Lights
Final Thoughts: DIY vs Professional Permanent Lighting
Most homeowners end up deciding how much time they’re willing to invest and how much they want to spend.
Both approaches can get you to a clean, permanent lighting setup. The difference is whether you want to handle the process yourself or pay to have it done.
FAQ: DIY vs Professional Permanent Lighting
Is DIY permanent lighting worth it?
For many homeowners, yes. If you’re comfortable with basic tools and working on a ladder, DIY permanent lighting can save thousands while still delivering a clean, professional-looking result.
How much does professional permanent lighting cost?
Most professionally installed systems fall somewhere between $5,000 and $10,000 depending on the size of the home and the complexity of the installation.
How much does DIY permanent lighting cost?
DIY costs vary depending on the approach. Plug-and-play kits can be cheaper, while complete DIY systems typically fall in the middle. Most homeowners spend significantly less overall compared to professional installation.
What is the easiest DIY permanent lighting option?
Plug-and-play kits are the easiest but come with some big drawbacks such as appearance and quality. For a much higher quality option, complete DIY kits are usually the easiest option. They include everything you need and remove the guesswork, making them a good fit for homeowners who want a straightforward installation process.
Do DIY permanent lights look as good as professional installs?
When installed properly using a clean mounting system, DIY lighting can look very similar to professionally installed setups. The final appearance depends more on installation quality than the type of system.
How long does it take to install DIY permanent lighting?
Most installations take a weekend or two, depending on the size of the home and how the work is spaced out.
Do I need special tools to install permanent lighting?
Most DIY installs only require basic tools like a drill, ladder, and measuring tools. The exact requirements depend on the system you’re using.
What’s the difference between DIY kits and plug-and-play lights?
Plug-and-play lights are usually easier to set up but may not look as clean once installed. Complete DIY kits take more effort but typically provide a more consistent and professional-looking result.